Now that my fourth graders have made their contribution to our school-wide collaborative (details to come, stay tuned! I'm STILL trying to figure out my life, y'all) and completed their sketchbooks and their first couple of sketching tasks, it's now time for them to move on to the art makin'! I have decided to kick off the school year with landscape for all of my students. I also decided that I wanted my kiddos to learn about contemporary artists (and it so happens, all female artists!). It's with that in mind that I introduce you to the lesson I'll be sharing with my fourth grade artists: Chalk Landscapes inspired by the artist Claire West!
These drawings are my teacher examples...I had so much fun creating them, I couldn't stop! You can see the process in this video I created to be shared with my students:
Now let's take a closer look at some of Claire's work...
Isn't her work beautiful? I love the colors! They are so rich and stunning. I knew chalk would be a good way for my students to capture that incredibly rich hue.
I also love how her work really shows depth. What a great way for my students to learn about the horizon line, back-, middle- and foreground.
Here are the supplies we will be using for this lesson: * Chalk I really like Faber-Castell's chalk. It's vibrant and rich with no fillers or junk. They are my fave! * Liquid Starch! The magical ingredient behind this amazing process. * 11" X 17" Paper I went ahead and cut an inch off the normal 12" X 18" paper so that matting and framing will be easier in the future. * Paint! This will come later...but we'll use a variety of colors of tempera paint.
This project will probably take us some time. A couple of classes for the chalk and starch...and maybe one class for painting. I'll keep you posted on our progress.
Why I am so smitten with the starch trick: no messy chalk pastel dust! No need to spray with hairspray or a fixative! No smearing! I'm so in love. Big shout out to my good friend Jennifer Avarado for sharing this trick with me.
More landscape lessons for my other grade levels are in the works so stay tuned. I'll keep you posted here and on my YouTube channel.
Last year, I started a series of videos titled Field Trip! The purpose of these videos was to take all of my students on a virtual adventure to meet contemporary artists, see their creative spaces and witness them creating. You can check out my playlist of Field Trip! videos here. If you subscribe, you can also stay up-to-date as to when I post a video. I actually have three more Field Trip! videos recorded that I need to edit and upload before sharing them with you and my students. Please feel free to use these (and any of my videos) in your art room...I think all students can benefit from learning about these unique, creative and current working artists. I admit, I fell off the wagon HARD last spring when it came to searching out artists, contacting them and filming them. I was starting to feel super overwhelmed with all things art teacherin': the national conference where I presented a couple of times; our school-wide art show which is a beast of an undertaking and our clay unit which we always kick off in the spring. I will also admit this to you...I am very lazy, not consistent, a procrastinator and, did I mention lazy? I'm lazy. One look at Mount Laundry and you would agree. But knowing just how much my students benefited from these videos, I knew I had to continue creating them. So during the spring, I attended an artisan fair and picked up just about every business card that I saw sitting out. Once home, I researched the artist, looked into their location (Nashville and just a little beyond is ideal) and sent them an email. I got a great response...artists are so giving with their time and willingness to share! The first artist I scheduled to visit is the one and only Audry Deal-McEver.
Look at her beautiful home! Audry's studio is right behind her home and it is absolutely stunning, check it out:
When I arrived at Audry's home, she reminded me that we actually met many years ago (we are thinking about 10-12). My brother, who is 10 years my junior, was in a very bad car accident and was in a coma for several weeks. During that time, my administration allowed me to be with him and my family. Audry's mom, an art teacher, stepped in for me. She taught my classes, kept the students creating and made it so I could focus on what was most important. Her daughter, Audry, came in one day and did a wheel throwing demonstration for the students. I still have the photos of that day and share them with the kids when we chat about clay. What a crazy turn of events, right? My brother, by the way, pulled out of the a coma that they said he would not and is now an English teacher on a Native American reservation.
I'm rambling...here's the video!
I have to tell you...Audry is an INCREDIBLE teacher...because she IS a teacher. She's taught ceramics and photography for the past five years at a local school. She is now taking time off from teaching to focus on her work. However, she does such a wonderful job explaining every element of working with clay that I feel this video would benefit all students, upper elementary on up to college.
At the start of the video, you'll find her wedging clay. She explains the reasoning behind that and how to do it. Then she moves on to throwing on the wheel...which she makes look incredibly simple. I could only dream to throw a pot on the wheel that didn't end up looking like Patrick from SpongeBob Square Pantalones.
I love how Audry shares her inspiration...and the origin of paisley! I had to include that in the video, it was new to me. Also, watching an artist work is always hypnotizing and she does her clay carving so quickly. It was fun to watch.
I was thrilled when she explained how a kiln works and the different types of kilns. I know that can help even us art teachers who might not understand how to operate a kiln.
Audry mixes up her own glazes to create the desired color. Her application process was interesting to see.
And I loved the results so much, I had to have one of her vases in my home. She also gave me a beautiful mug...I know the kids will love to see me gettin' my coffee on with one of her pieces.
A big THANK YOU! to Audry for allowing me to visit. Be sure to follow her Instagram as she shares videos and photos of her process.
I hope you enjoyed this visit to Audry's studio as much as I did! Until next time...
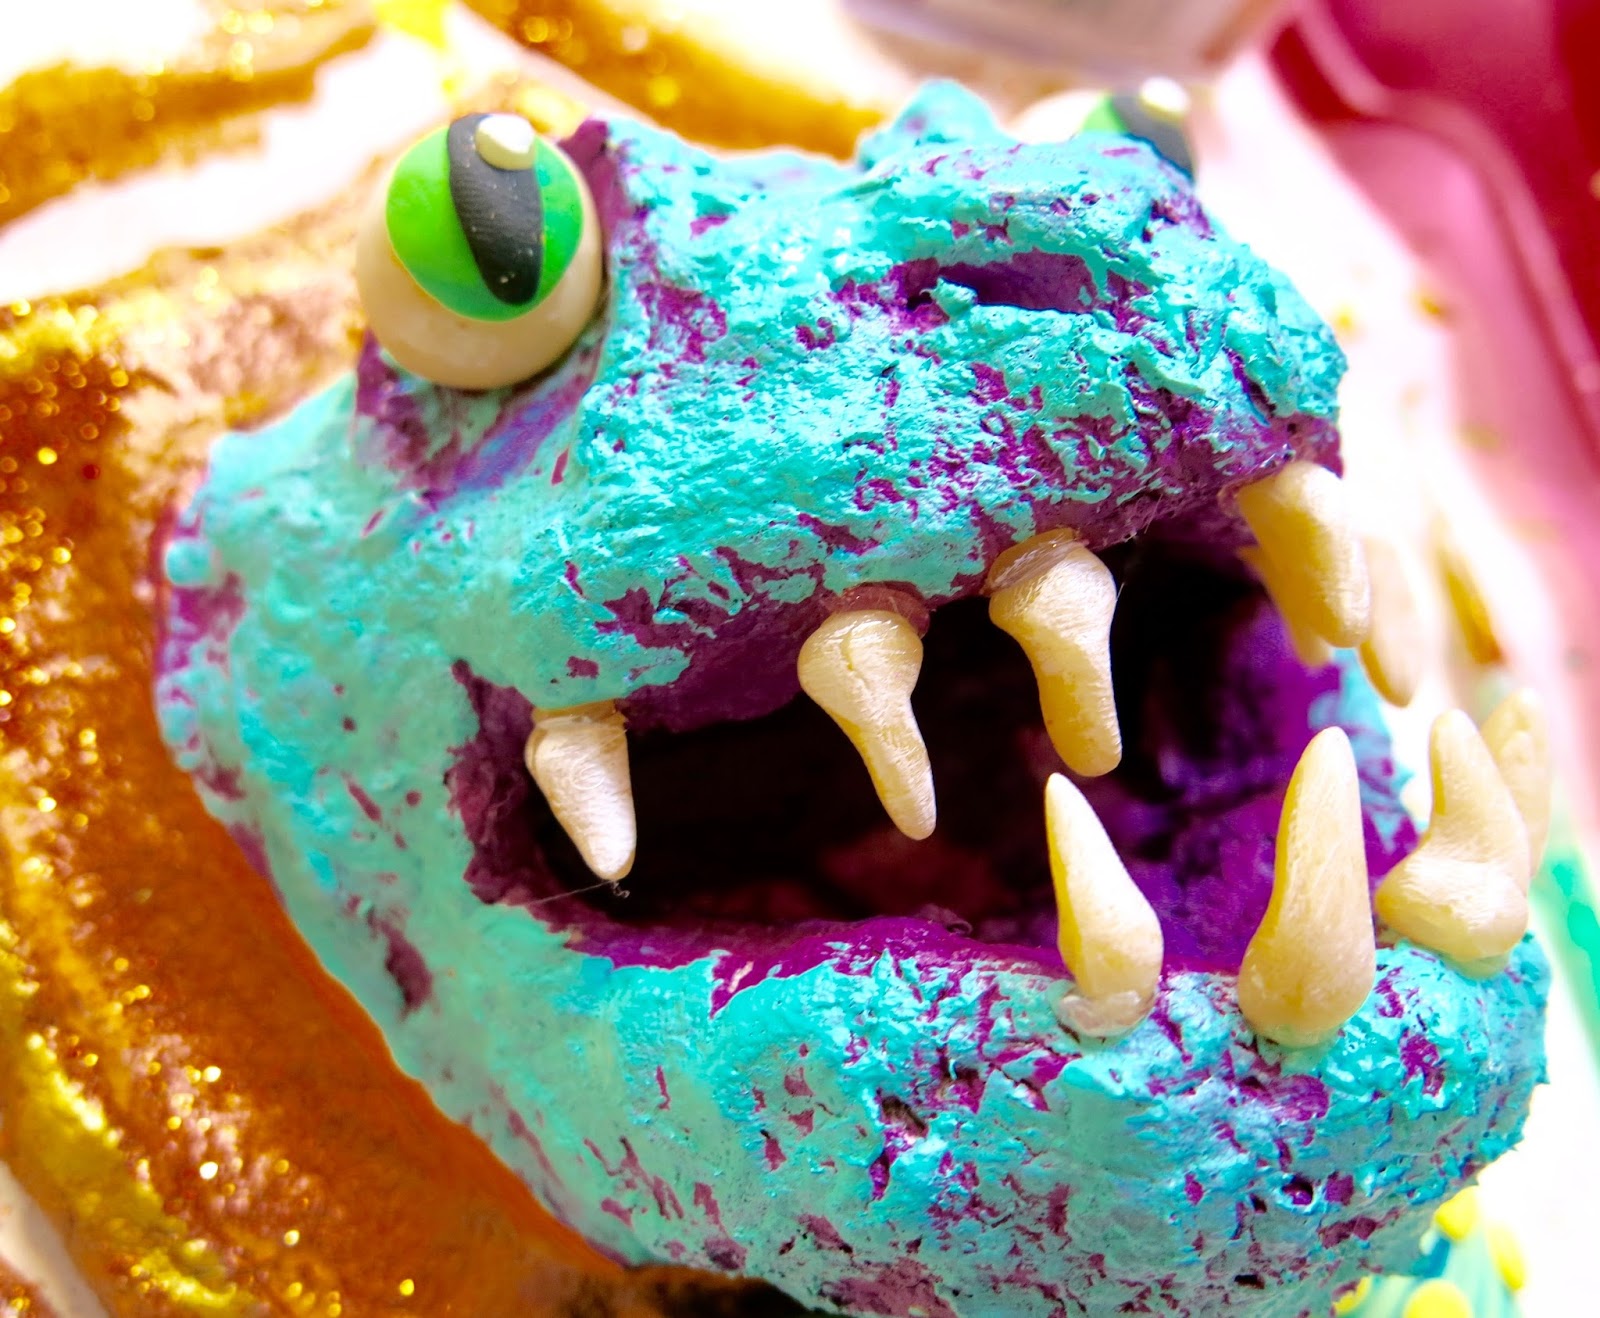
Y'all, I know. You don't even have to tell me: these are the ugliest things I've created to date. When I showed the hubs the creation on the right, he said, "that thing is scary. Like really scary." This coming from a dude who lives for haunted attractions. Mission accomplished. I got the idea for this Celluclay project when I hosting my #creatingwithcassie craft nights over on Facebook live. It is similar to a project I did when writing my book except with that project, I used air dry clay and created cute little forest animal heads. With this one, I used Celluclay and made these ugly/cute bad boys. How to here:
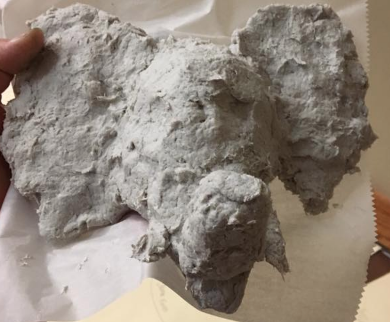
Supplies: * Celluclay: To say I am obsessed with this stuff is an understatement. I love me some Celluclay every since discovering it when writing my clay book. For a grade level of 80 kiddos, I'd say you'd need 2-3 bags of the 5 lb. of clay. I always premix the clay, I never let the kids do this. It's very dusty and, with a group of kids, could get real insane, real quick. I like to mix mine up the day before, creating batches the size of a large grapefruit for every two kids. I then wrap the clay in plastic wrap and store in the fridge so as not to mold. The next day, I place in a bowl and let the kids unwrap the clay. * Water: For mixing the clay. Don't ask me about measurements. This stuff should feel like clay. Not to soggy, not too dry. * Cardboard for Wall Mount: This project is geared towards kids in middle school and beyond. I'm guessing they will be able to cut through cardboard. Chipboard and mat board would work just as well. * Aluminum Foil: The Dollar Tree sells packs of 30 sheets of aluminum foil. I love this! The stuff is already cut for you. I will say, it's a very thin foil. You and your students may have to use more than one sheet to build a strong armature. It will need to support the weight of the clay. * Paint: I used acrylic but tempera would work. I always cover my Celluclay pieces in a varnish like ModPodge to seal and protect. * Polymer Clay: Totally optional! I used this to create the eyes and the teeth. I thought the difference in texture would be fun.
This guy is small, only about 6.5" in height. What I love about this project and working with Celluclay: 1. You don't have to wrap your project to prevent from drying when class is over or you need to take a break. Allow your clay to dry out. You can simply work the wet clay back into the dry. YES! 2. It sticks to everything! Seriously. I've adhered this clay to plastic, cardboard, tagboard, foil and plaster and I've never had to bust out the hot glue gun. 3. For that reason, no need to slip and score! Yippie! 4. I love the rough texture it creates. However, if that is not your bag, then good news, you can sand the clay once it's dry. Use a fine grit paper and do this either outside or wearing a cute lil paper mask thingie.
I always and forever, amen dry my Celluclay in front of a fan. It can dry super fast that way. Otherwise...it may take much longer to dry and mold. No one wants that.
I've used both the white and the gray clay. Both take to paint very well...so no reason to purchase one over the other.
Because the Celluclay sticks to everything in the universe (in the best possible way), you can use such things as air dry clay in combination. We found that out while I was leading a clay session at Art Scouts (details on that amazing adventure later this week!). The participants were adding tooth-shaped clay right into their masterpieces while it was wet...the next day, they were stuck in to place.
I also shared this process during my online craft nights. I LOVED seeing everyone's spin on this project. Imagine where our students could go with this idea. This amazing unicorn was created with plaster trips instead of Celluclay...which works just as well!
Here are just a few of the incredible creations I managed to snag a picture of at Art Scouts. Love this elephant!
And this dragon! At Art Scouts, I had about an hour for the participants to create an armature and make their masterpiece. Pretty impressive that they could knock it out so fast. The method I share in the video makes it a simple process. Once home, the Art Scouts started sending me photos of their finished pieces.
Love this one by Polly Blair. Notice she did not cover her cardboard in Celluclay. Totally optional. It really giver her piece a great contrast between the smooth wall mount and the rough texture of the dragon.
And this cutie from Jennifer Day. That face is a total crack up.
Here's a peak at the other clay creations our Scouts knocked out in just two hours! These were created by my Joliet pal Nora Gleason. The heart was created with Celluclay while the wings were made with plaster trips.You can find that project here.
And these cuties created by Ryann Hawkins. LOVE them! I can't wait to share more from our Art Scouts adventures in a future post. Until then, I leave you with these faces only a mother could love...
Ah! I failed to mention that the "retainer" on the dino on the left was created with an unfolded paperclip and attached with hot glue. The cat eye glasses were some I had in my stash where I just removed the legs and attached to the bridge of the nose with hot glue. The bowtie on the dino on the right, was created from polymer clay and simply attached to the finished piece with hot glue. Now...where to hang such craziness. My art room, of course!
Hey, friends! Second grade-land has just finished off a fun project with a strong focus on LOVE. My theme this year has been kindness and with Valentine's Day right around the corner, I really wanted to focus on all things love-y. Because, let's face it, the world could use a whole lot more love right now!
And if these happy hearts don't help spread the love, I don't know what will! Another focus this year has been to introduce my students to more contemporary artists and also street artists. During my search, I discovered the artist Chris Uphues and completely fell in love (sorry, I had to) with his work, especially his happy hearts!
If you aren't familiar, Chris is an artist based out of Chicago whose heart murals can be found there as well as in New York and Los Angeles. When I discovered his work, I was immediately struck by how happy it made me! I knew the colors, energy and joy in his work would really resonate with my students. Y'all should really check out his website...I love that his hearts can be purchased in the form of reasonably priced prints, patches and pins. I've got a cart full!
I would totally cover a wall in my house in these! I mean, who wouldn't?!
For the Happy Hearts pieces that my second graders created, we used the following: Day 1: * Black and white paper, 12" X 18" * Tag board heart stampers * Paint in yellow, magenta and turquoise Day 2-3: * Painted papers, construction paper, scrap papers for hearts * White paper for eyes * Black paint * Scissors and glue
Day 1: I see my second grade kiddos for 30 minutes, twice a week. On our first day together, we chatted about Chris and his work. I introduced the kids to printing and we printed a black paper and a white paper full of hearts. To see how the heart stampers were created, watch the first 5 minutes of this video.
On day 2, students learned how to cut out hearts. Many students knew how to do this already...but I had several that didn't. This was a great introduction to symmetry! I also offered them oval, circle and other shaped templates for the eyes. Once those were glued down, black paint was available for the artists to paint the faces. I had printed off several sheets of Chris' hearts to give the kids ideas for expressions.
By the end of the second day, we had a ton of these! I love how happy and fun they are.
Over the next couple art classes, the kids created more hearts and began adding them to the printed backgrounds. They so enjoyed creating these expressive heart faced characters. This project was a huge hit with them!
Each kid was super engaged in creating their heart collages. When I told them that we'd be moving on to another project next week, each class shouted "WHY?!" They couldn't stop making these hearts! I just might have to give them one more day to keep on heartin'.
As they worked, the kids had stories about each heart and how they interacted with each other. We had heart moms, dads, babies, grandparents, you name it!
As they worked, the kids laughed at their hearts, showed them off to friends and pulled ideas from one another.
Before gluing, we did chat about composition, overlapping, emphasis and scale. I wanted to remind the kids of these thoughts as they worked...but made sure not to weigh in too much as I really wanted to see where their ideas would take them.
Because, I mean...look at how fun and funny they are!
I'm so looking forward to showcasing these throughout our school along with all of our other LOVE-based projects. Just a quick scroll through this blog and you'll find half a dozen love-based projects we are currently working on in the art room.
The best part is, I've tagged Chris Uphues on several posts showcasing the kids' hearts on my Instagram and he's been so sweet to respond! The kids have loved hearing his positive feedback.
It's made us feel all...happy! Like this.
If you are looking for a fun lesson for your students that introduces printing, symmetry, expression, collage and the amazing contemporary artist Chris Uphues, I strongly recommend this fun lesson! Love to hear from you if you give it a go!